
The bathroom harbours more bacteria per square centimetre than any other room in your home. Singapore’s humidity intensifies this problem warm, moist conditions create ideal environments for mould, mildew, and bacterial growth that thrive between your weekly cleaning sessions. Effective bathroom cleaning requires more than surface wiping; it demands systematic approaches that address hidden contamination zones most homeowners overlook.
This guide walks you through professional-level bathroom cleaning techniques, from ceiling to floor, ensuring every surface receives appropriate treatment for lasting cleanliness.
Before You Begin: Gather Your Supplies
Without further ado, let’s begin discussing how to clean a bathroom, what mistakes to avoid and how to keep things efficient & easy! Let’s get started below.
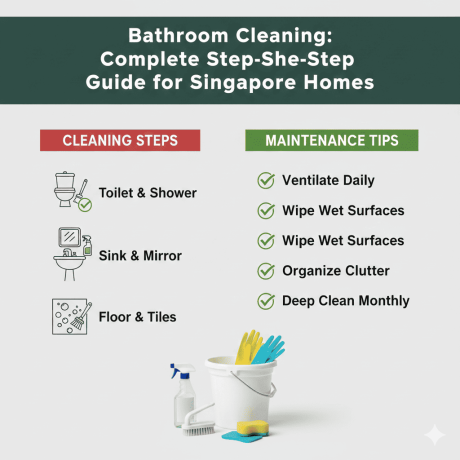
How To Clean A Bathroom: The Ultimate Checklist

Assembling supplies before starting prevents contaminated gloves from touching clean storage areas mid-clean. Professional cleaners never interrupt their workflow to search for products efficiency matters when working in bacteria-heavy environments.
Essential supplies: Rubber gloves, toilet brush, grout brush or old toothbrush, microfibre cloths (minimum 4), squeegee, scrub brush with stiff bristles, spray bottles, bucket
Cleaning solutions: All-purpose bathroom cleaner, toilet bowl cleaner (with bleach), glass cleaner, mould and mildew remover, white vinegar, baking soda, dish soap
Safety note: Never mix bleach with ammonia or vinegar the combination creates toxic chlorine gas. Use bleach-based products separately and ensure adequate ventilation throughout your bathroom cleaning session.
Step 1: Ventilation and Preparation
Open windows and turn on the exhaust fan before applying any cleaning products. Proper ventilation protects your respiratory system from chemical fumes and accelerates drying time after cleaning crucial for preventing immediate mould regrowth in Singapore’s humidity.
Remove all items from countertops, shower caddies, and windowsills. Take out bath mats, towels, and any decorative items. This prevents contamination transfer and ensures you clean surfaces thoroughly rather than working around obstacles.
Empty the rubbish bin and set it outside the bathroom for separate cleaning later.
Step 2: Start from the Top Exhaust Fan and Ceiling
Bathroom cleaning follows a top-to-bottom rule: dirt and cleaning solution drip downward, so starting high prevents re-contaminating already-cleaned lower surfaces.
Exhaust fan cleaning: Turn off the electrical breaker to prevent accidents. Remove the fan cover most pop off or unscrew easily. Soak the cover in warm soapy water while you clean the fan blades with a damp cloth. For heavy dust buildup, use a vacuum with brush attachment. Dry all components completely before reassembling moisture in electrical components creates fire hazards.
Ceiling inspection: Check for mould spots, particularly in corners and around the exhaust fan opening. Spray mould remover on affected areas and allow 10-15 minutes contact time before wiping. Singapore bathrooms frequently develop ceiling mould due to inadequate ventilation; address this promptly to prevent spore spread throughout your home.
Step 3: Tackle Tiles and Grout

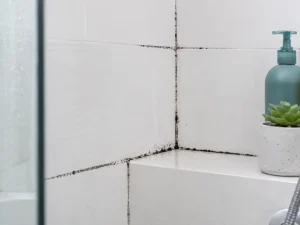
Grout absorbs moisture, soap residue, and body oils, making it the most challenging bathroom cleaning task. The porous material harbours bacteria and discolours quickly without proper maintenance.
Wall tiles: Spray all-purpose cleaner across tile surfaces, working in sections. Allow the solution to break down soap scum for 3-5 minutes before scrubbing. Use circular motions with a microfibre cloth, paying attention to grout lines where buildup concentrates.
Grout deep cleaning: Create a paste using baking soda and water (3:1 ratio). Apply along grout lines using an old toothbrush or dedicated grout brush. For stubborn stains and mould, add hydrogen peroxide to the paste. Scrub in small circular motions, then rinse thoroughly. For severe discolouration, apply undiluted bleach with a brush, wait 10 minutes, then scrub and rinse.
Floor tiles: After wall cleaning, sweep or vacuum the floor to remove fallen debris. Mop with diluted floor cleaner, paying special attention to corners and areas behind the toilet where splash contamination accumulates.
Step 4: Shower Area and Bathtub
The shower area receives the most moisture exposure, making it prime territory for soap scum, hard water deposits, and mould growth.
Showerhead: Mineral deposits from Singapore’s water supply clog showerhead holes, reducing water pressure and harbouring bacteria. Fill a plastic bag with white vinegar, secure it around the showerhead with a rubber band, and leave overnight. Scrub remaining deposits with an old toothbrush the following morning.
Glass shower doors: Apply glass cleaner or a vinegar-water solution (1:1 ratio). Use a squeegee in overlapping vertical strokes from top to bottom, this prevents streak formation. For hard water stains, apply undiluted vinegar and let sit for 15 minutes before squeegeeing.
Bathtub: Spray the entire tub surface with bathroom cleaner. For fibreglass or acrylic tubs, use non-abrasive cleaners to prevent scratching. Allow 5-10 minutes of contact time before scrubbing with a soft brush. Pay particular attention to the drain area where hair and soap combine to form stubborn deposits. Rinse thoroughly and dry with a clean cloth to prevent water spots.
Step 5: Toilet The Most Critical Area
Toilets require dedicated cleaning tools that never contact other bathroom surfaces. Cross-contamination spreads faecal bacteria to sinks, counters, and toothbrush holders a significant health hazard.
Bowl interior: Apply toilet bowl cleaner under the rim, allowing it to drip down the sides. Let the solution work for 10-15 minutes while you clean exterior surfaces. Scrub the bowl interior with a toilet brush, paying attention to the waterline where mineral deposits accumulate. Flush to rinse.
Exterior surfaces: Spray disinfectant on the tank, lid, seat (both sides), base, and surrounding floor area. These surfaces receive splash contamination and hand contact, making thorough disinfection essential. Wipe with paper towels rather than reusable cloths dispose immediately after use.
Behind and around: The area behind the toilet and along the base collects dust, hair, and moisture. Use a long-handled brush or wrap a cloth around a ruler to reach tight spaces. Clean the floor immediately surrounding the toilet base where urine splash accumulates.
Step 6: Sink, Counter, and Mirror
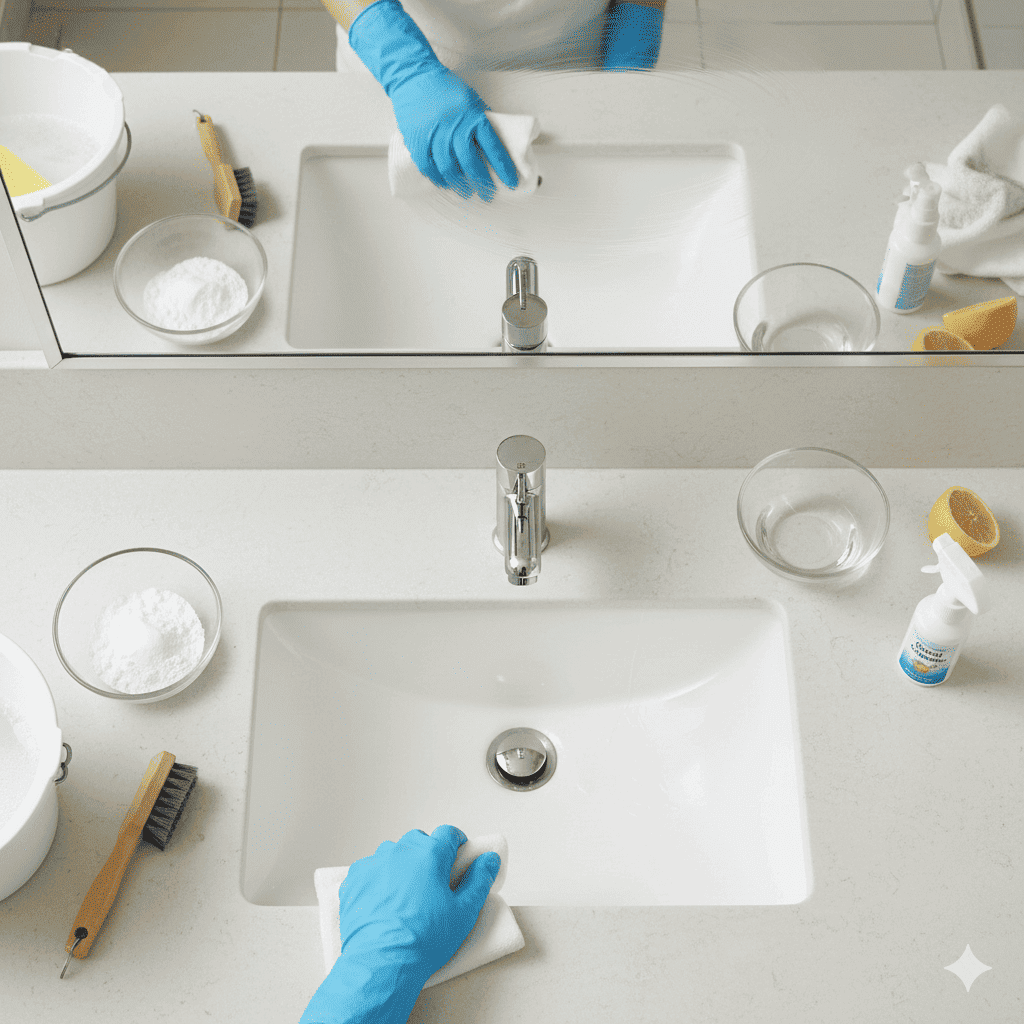
Sink basin: Apply bathroom cleaner and scrub with a non-abrasive sponge. Clean the drain opening with a brush hair and toothpaste accumulate here, causing slow drainage and odours. Rinse thoroughly and dry to prevent water spots.
Countertops: Wipe down all counter surfaces with disinfectant. Remove soap dispensers and toothbrush holders, cleaning underneath where moisture pools. These hidden areas develop mould quickly in Singapore’s climate.
Faucets and fixtures: Chrome fixtures show water spots prominently. Wipe with glass cleaner or vinegar solution, then buff dry with a microfibre cloth for streak-free shine. Pay attention to the base of faucets where grime accumulates.
Mirror: Spray glass cleaner onto a microfibre cloth rather than directly onto the mirror this prevents solution from dripping behind the frame where it can damage backing. Wipe in Z-shaped patterns from top to bottom, then buff with a dry cloth for streak-free results.
Step 7: Final Touches and Maintenance
Replace all items after surfaces dry completely. Launder bath mats and towels, these absorb moisture and harbour bacteria between washes. Consider washing them twice weekly in Singapore’s humid climate.
Daily maintenance habits extend time between deep bathroom cleaning sessions: Squeegee shower walls after each use to prevent water spot formation. Run the exhaust fan for 30 minutes post-shower to reduce humidity. Wipe sink and counter after morning routines. Close the toilet lid before flushing to prevent aerosol contamination of nearby surfaces.
When to Call Professionals
Some bathroom cleaning challenges exceed DIY capabilities. Extensive mould growth penetrating grout or caulking requires professional remediation. Persistent drain odours may indicate plumbing issues needing expert assessment. For move-in situations or after renovation work, professional cleaning services ensure thorough sanitisation.
Helpling’s trained cleaners follow rigorous 50-point checklists covering every bathroom surface. For deep cleaning needs, our spring cleaning or move-out cleaning services address accumulated grime that regular maintenance misses.
FAQs
How do you clean a bathroom?
To clean a bathroom, we recommend that you start from ceiling to floor to avoid spoiling just-cleaned surfaces. Here’s a checklist you can use to get started:
- Exhaust fan
- Tile grout
- Showerhead
- Bathtub
- Mirror
- Toilet
- Sink
- Floor
How often should I clean a bathroom?
A good rule of thumb is to clean your bathroom once a week. However, remember that it gets obvious when a bathroom needs to be cleaned. Pay attention to soap scums, gunky buildup around fixtures, poor water flow and dirty exhaust fan, among other things.
What mistakes should I avoid when cleaning the bathroom?
Here are some of the biggest bathroom cleaning mistakes you should avoid:
- Ignoring hard-to-reach areas.
- Using toxic chemical cleaners that can affect your health and bathroom surfaces.
- Using the same sponge to clean everything
- Not asking for the help of professional cleaning services.